
Article
What should buyers know first?
Short answer: Turn a logo mockup into a measurable garment specification. Define wearer-side orientation, finished dimensions, garment anchors, cross-size rules and sample evidence for private-label fashion clothing.
Custom logo placement on clothing needs more than a mark on a sketch. Give the factory a named garment side, measurable reference points, the finished logo dimensions, a rule for each size group and a sample that demonstrates the result. Yinshan Fashion supports custom and private-label bulk programmes, not unrestricted ready-stock wholesale. For a buyer developing a collection, the useful question is how the brand logo will sit on the actual garment—not simply whether the factory can apply it.
What should custom logo placement on clothing specify?
A placement instruction has two jobs. It must express the designer's intention, and it must let someone who was not in the design meeting locate the same position. “Small own logo on the chest” does neither reliably. Small compared with what? Which chest? Does the position refer to the centre of the wordmark, its upper edge or the rectangle around the artwork? Those questions should be settled before the sample room interprets the picture.
Build a placement sheet around the style code, garment revision, artwork identifier and review size. Name the visible garment surface and the intended wearing orientation. Then identify the points used to locate the mark, its finished width and height, its rotation and the garment condition for measurement. Add the approved size mapping and the evidence still required. A single clear annotated drawing can carry most of this information; extra pages are useful only when they resolve a real ambiguity.
Designer decision: describe what the mark should do. It might be a quiet signature on a blouse, a focal graphic on a T-shirt or a small repeatable detail across a loungewear range. State which visual relationship matters most, such as alignment with a pocket or balance beneath a neckline.
Buyer–factory confirmation: convert that intention into dimensions and a review method for the named product. Agree who can change a proposed location if construction creates a problem. The sample maker should not have to choose between an attractive drawing and an incompatible measurement sheet without asking. Keep uncertain fields visibly open instead of filling them with guessed values.
Which garment landmarks make dependable measurement anchors?
Choose an anchor that both teams can identify on the finished style. Possible references include a defined centre-front line, a finished neckline seam, a pocket edge, a cuff attachment seam or a specified point on the shoulder. None is automatically best. A centre-front seam may be absent; a wrap front may overlap; a pocket can move between pattern revisions. Explain exactly which feature controls the placement and show it on the drawing.
Distinguish a finished edge from a cutting line or seam allowance. If the decoration is applied to a panel before assembly, the factory may need an additional production reference. That internal setup must still lead to the agreed position on the finished garment. Do not ask the buyer's inspection team to measure from a raw edge that no longer exists after sewing. Keep the finished-garment requirement and the production method connected but separate.
Write where each dimension starts and ends. “Below neck” leaves several possibilities: the top of the collar, the collar attachment seam, the neckline at centre front or a shoulder reference projected downward. A vertical distance also needs a direction. State whether it is measured straight down on a relaxed flat garment or along a particular seam. Avoid using one curved-edge measurement and one straight-line measurement interchangeably.
For a pocket logo, decide whether the mark is centred within the pocket itself or located independently on the garment body. If the pocket changes shape, those rules may produce different results. Ask which relationship the designer wants to preserve. This is especially useful when adapting a reference from the Blouse Collection, where plackets, ties, gathers and decorative panels can make an apparently simple chest location less straightforward.
How do you prevent left–right and orientation mistakes?
Use the wearer's perspective when naming garment left and right, and write that convention on the placement sheet. A person looking at the front of a garment sees the opposite side. Instead of relying on “left chest” alone, add an annotated front view marked “wearer's left.” Use a back view for a back placement. A small investment in clear labelling is worthwhile when designers, merchandisers and operators review the same information in different formats.
Mirrored photographs deserve special attention. A selfie or flipped product reference may reverse the apparent location or make lettering difficult to interpret. Label inspiration images as references, then create the production instruction from the intended garment orientation. Check that the written side, the arrow on the drawing and the physical sample all agree. Do not let the most recently shared photograph silently replace the approved convention.
Rotation also needs a reference. A sleeve mark can read upright with the arm hanging down, face outward during movement or run along the sleeve length. Those are different designs. Show the direction of the top of the artwork and the intended reading direction. For a cuff, indicate the outside face and whether the garment is viewed with the cuff fastened, unfolded or turned back.
The same discipline applies to a robe that crosses over at the front. Specify the panel and the wearing arrangement in which the logo should remain visible. “Front left” without an overlap rule is insufficient. Review the closed garment at the agreed belt setting as well as the flat panel. The Robe Collection can start a silhouette discussion, but the buyer's actual overlap, collar and belt details must control the final placement record.
Should the factory measure the artwork box or the visible logo?
An artwork file can contain empty space around the visible mark. If one person measures the file's outer box and another measures the printed letters, both can report the requested width while describing different results. State whether finished dimensions refer to visible decoration, an agreed bounding box or another clearly identified feature. Include a dimensioned preview that makes this distinction obvious.
For an irregular symbol or a wordmark with an extended letter, decide which point establishes the centre. The geometric centre of the bounding box may not look visually centred. If the designer wants an optical adjustment, approve and document it as an intentional offset. Do not write “centre logo” and expect every reviewer to infer the same correction. Preserve the approved proportions unless a separate adapted version has been reviewed.
A personalised logo may combine a symbol, brand name and short line of text. Define whether their spacing is part of one locked artwork or whether the elements have separate placements. If the text changes by programme, its new length can alter the visual centre even when the symbol stays the same. Review the complete version rather than approving one generic arrangement for every future wordmark.
Do not use this placement sheet as a substitute for the artwork release itself. Link it to the current file and revision, then use the apparel artwork approval guide for file control and approval scope. This article addresses where the accepted mark sits and how that position is checked. Keeping those responsibilities distinct makes it easier to identify whether a later problem comes from the graphic, its location or a change to the garment.
How should logo position and scale change across garment sizes?
Separate two decisions: the size of the decoration and its location on the garment. Keeping one logo width throughout a range does not require keeping every placement dimension unchanged. Equally, increasing the graphic size does not establish where its upper edge should sit. Write the two rules separately so the sample team can apply them without deriving an unapproved formula.
One option is a constant logo with size-specific positions. Another is a small set of artwork sizes assigned to garment-size groups. A third is a deliberately graded graphic with an agreed position for each size. Choose according to the visual goal and the proposed application route, then ask the factory what proofs and setup differences the choice introduces. Do not present any of these options as universally cheaper, easier or more attractive.
Review the sizes most likely to expose a problem. A narrow chest area, a short body or a changed pocket proportion may deserve attention, as may the largest size if the same mark appears visually lost. For a cropped tee, check the relationship between neckline, graphic and finished hem. On a fitted top, check the intended worn shape as well as the flat measurements. The fashion T-Shirt Collection provides product references, not a universal graphic-size chart.
Record the mapping explicitly. A row should name the garment sizes, artwork version, finished dimensions, anchors and required proof. Avoid a note that says only “grade accordingly.” When the size range expands later, do not automatically extrapolate beyond the approved mapping. Treat the added sizes as a new review question and identify what evidence is needed before extending the release.
What changes when the garment drapes, stretches or overlaps?
A logo can measure correctly on a table and still look wrong in wear. Soft fabric may fall into folds; a fitted knit may open across the body; a wrap panel can cover part of the mark. Start with the intended wearing arrangement, then decide which flat measurements and worn views together describe an acceptable result. Neither view should be used to dismiss a problem clearly visible in the other.
For a fluid blouse, consider whether a tie, ruffle or gathered seam interrupts the proposed area. A mark near the edge of a loose front panel may disappear when the wearer moves. For a dress, look at the neckline, waist seam, bust shaping and lining together. Use the Dress Collection to identify relevant construction questions, then review the actual style rather than transferring coordinates from a T-shirt template.
For a knit top, distinguish the relaxed measurement condition from the intended worn condition. Document how the garment is laid out without pulling it into the desired dimensions. Madeira's hooping guidance cautions against stretching fabric during setup and against adjustments that can disturb design placement. For the buyer, that supports a practical question: does the sample represent the proposed material and application setup? It is not an instruction to prescribe one hooping method for every fabric.
The Women's Knit Jersey Collection is useful for comparing body shapes and surface details. Confirm the selected material before treating an approved location as final. If a replacement fabric changes drape or stretch, reopen the visual placement review even when the logo file is unchanged. A prior approval describes a particular combination of garment, material and decoration, not every possible substitute.
How do seams, pockets and application access affect the proposed location?
Mark the nearby construction features on the placement drawing. A pocket opening, zip, seam allowance, lining or narrow sleeve can change how an application is reached or supported. Ask the factory to assess the proposed location on the intended construction before treating a clean digital mockup as evidence of feasibility. The buyer supplies the desired result; the production team should confirm a workable route for that result.
Clarify whether decoration is proposed before or after garment assembly. If it happens on a cut panel, the placement review must account for subsequent seams, shaping and finishing. If it happens on the assembled garment, ask whether all intended areas remain accessible and whether the reverse will be acceptable. These questions belong in sample planning, not as discoveries after the garment has already been approved without decoration.
A mark crossing a seam needs a deliberate decision about continuity and interruption. Does the brand expect an uninterrupted symbol, or is the break an intentional design feature? Show the desired relationship at the seam and ask for evidence that represents the proposed sequence. Do not use a flat paper overlay to approve a result that depends on sewing alignment, surface thickness or how two panels meet.
If the method itself is undecided, use the print, embroidery and heat-transfer comparison for that discussion. Placement and method interact, but this does not make one technique universally suitable. Compare the actual proposed sample, including the reverse and surrounding fabric. Any cost, minimum quantity or timing difference should be confirmed against the current artwork, material, location and order breakdown rather than assumed from the technique's name.
What should the sample photographs and physical review demonstrate?
Request a full-garment view before the close-up. It shows whether the logo belongs in the intended visual position relative to the neckline, body length and construction. Then request a close view that identifies the measurement anchors, a readable scale where appropriate, and the visible decoration boundaries. A perfectly sharp detail photograph can still be unhelpful if the reviewer cannot tell which garment side or size it shows.
Label each image set with style, sample revision, garment size, material reference and artwork version. Note the garment state: flat and relaxed, worn, fastened, belted or otherwise arranged. Avoid angled photographs when they are being used to discuss alignment; perspective can change the apparent relationship between two edges. For measurement acceptance, use the agreed measuring method and physical evidence rather than estimating dimensions from pixels.
Review the reverse where the application affects the inside. Look at placement in relation to lining, seams and skin-contact areas, and ask whether the sample construction matches the proposed production route. A sample made in substitute cloth or with a temporary backing may answer a limited question. State that limit in the review record instead of recording a broad approval because the front photograph looks attractive.
Agree the relevant care or appearance review before it is carried out. Record the procedure, sample identity and acceptance criteria, including whether the logo's relationship to garment landmarks is being checked afterwards. Do not claim that one photograph establishes wash performance. If a requirement needs formal testing, confirm the applicable method, responsibility and evidence separately. The placement record should point to the result without turning an informal review into an unsupported certification claim.
How can a measured example resolve conflicting instructions?
Consider an illustrative private-label T-shirt brief—not a Yinshan customer case or an industry placement standard. The designer wants a small wordmark on the wearer's left front. The first drawing says “left chest,” the artwork preview includes empty margins, and the sample comment asks to move the mark “slightly in.” Each instruction is understandable in conversation but incomplete as a production reference.
The team replaces those notes with a named example: style T01, size M, garment revision B and artwork L02. The visible wordmark is 60 mm wide and 12 mm high. Its visible centre sits 80 mm toward the wearer's left from the defined centre-front line and 140 mm vertically below the centre-front neckline attachment seam. The garment is fastened where applicable, laid flat and relaxed; the mark's baseline is perpendicular to the centre-front line. These invented values illustrate complete wording only. They must not be copied into another style as recommended dimensions.
The designer then reviews a full sample and finds the mark too close to the armhole in the smallest proposed size. The useful response is not to blame the original file or shrink the entire design automatically. Ask which relationship should change: the horizontal position, graphic size or garment construction. Record the chosen small-size rule separately and request the proof that demonstrates it. Leave the larger sizes under their own confirmed mapping.
Now suppose the neckline changes after that review. Because the vertical dimension is anchored to its attachment seam, the team must check whether the previous distance still gives the intended position. The artwork can remain unchanged while the placement needs revision. This example shows why a placement sheet needs a garment revision and size rule, not just a logo file and one attractive sample photograph.
What belongs in the bulk handover and inspection record?
Keep the accepted sample, dimensioned placement sheet and size mapping together. Identify the current garment and artwork revisions, material, colourway, approved visible dimensions and measuring condition. Record which reference controls if a photograph and a written measurement appear inconsistent. Resolve the discrepancy before release rather than letting different teams select whichever reference is easiest to follow.
Agree tolerances for the actual programme. They should distinguish position, rotation and finished graphic dimensions where those distinctions matter. There is no universal allowance supplied in this guide. Ask the factory what can be controlled with the proposed process and ask the buyer's technical team what variation remains acceptable for the design. A very tight number on a spreadsheet does not, by itself, establish process capability or a sensible inspection method.
Separate an intended size-group difference from an error. If the smallest sizes use a different artwork width or offset, the inspection record must identify that mapping. Otherwise, a correct small-size sample can be rejected against the base-size reference, or an incorrect one can pass because the reviewer knows a difference exists but cannot locate its approved value. Include examples only when their identity and approval status are clear.
For repeat orders, compare the current proposal with the retained record. Check for changes to pattern, neckline, pocket, fabric, decoration method, artwork dimensions and size range. A familiar style name is not enough to establish that every relevant input is unchanged. Reopen the affected questions, document the new approval scope and keep previous evidence traceable. This is more useful than adding an unrestricted “same as last order” instruction to a different product.
How can Yinshan Fashion help turn a placement idea into a usable approval?
Buyers often have a coherent visual idea but separate conversations for fabric, garment construction and branding. Yinshan Fashion's private-label support covers logo application, labels, trims and packaging discussions. For this topic, the practical value is bringing the proposed mark into the garment brief early enough to ask whether its location conflicts with a pocket, tie, lining or wearing arrangement.
If the material is still open, use Yinshan Fashion's fabric and trim review to discuss the options alongside the intended logo position. A buyer can explain why a discreet mark must remain visible on a draped blouse or why a knit-top graphic must be reviewed in wear. The benefit is a more relevant sample question, not a promise that every fabric or decoration route will be available or suitable.
The company's sample-to-production workflow includes artwork placement review, sample comments and approval records. Buyers can use that coordination to connect the agreed location with the garment revision and size mapping. The manufacturing process provides the next handover context for agreed garment and branded details. A shared accepted reference gives both sides a clearer basis for checking the proposed production result and discussing a repeat order.
The brand still owns the creative choice and final approval. Yinshan Fashion can review the proposed development route with the buyer; it should not have to infer a brand's preferred optical balance, acceptability threshold or unspecified size rule. Availability, quantities, sample requirements, testing scope, prices and timing remain programme-specific. Explain the desired result and the unresolved questions together so the next review can address the actual product.
What should you send for a logo-placement review?
Send the style code, product category, current sketch or tech pack and annotated references. Include the intended material, base size, size range and relevant construction details. Supply the current logo artwork, visible finished dimensions, desired garment side, orientation and proposed anchors. If a coordinate is not yet decided, say that it needs review. Do not turn a rough mockup into an apparently final measurement sheet by adding arbitrary numbers.
Add the intended cross-size rule, colourways and quantities by style, colour and size. Explain whether the request concerns a brand logo, own-label wordmark, personalised version or several coordinated marks. Identify which details must remain unchanged and which alternatives can be discussed. Include the sample objective, target market, care expectations and the person authorised to consolidate comments and approve the next stage.
Before sending, compare the drawing, dimensions and sample comments. Check the wearer's left and right, the artwork boundary being measured, the garment revision and any conditional approval. One short list of open questions is easier to act on than several contradictory message threads. Keep inspiration pictures separate from the pages that are intended to control production.
Send the placement brief to Yinshan Fashion with the relevant product references and available sample evidence. The next decision is which garment, material and size combination needs to be reviewed first, and what that sample must demonstrate. Once those points are clear, the team can discuss a concrete development route for the customised clothing programme rather than guessing from a logo pasted onto a generic outline.

Private-label placement review
Three actions before approving the logo position
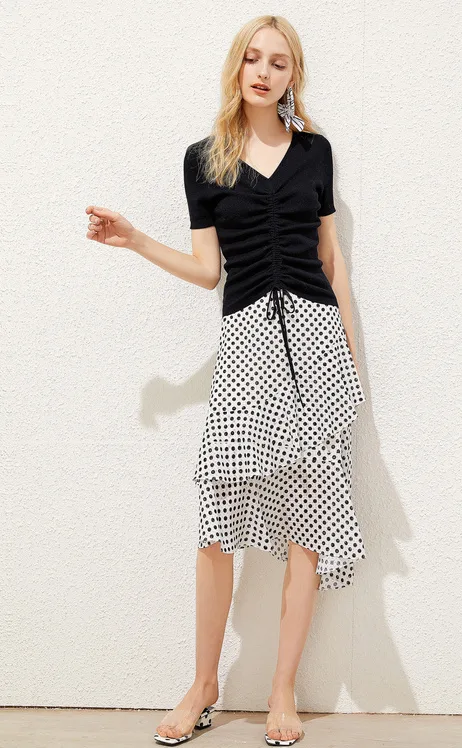
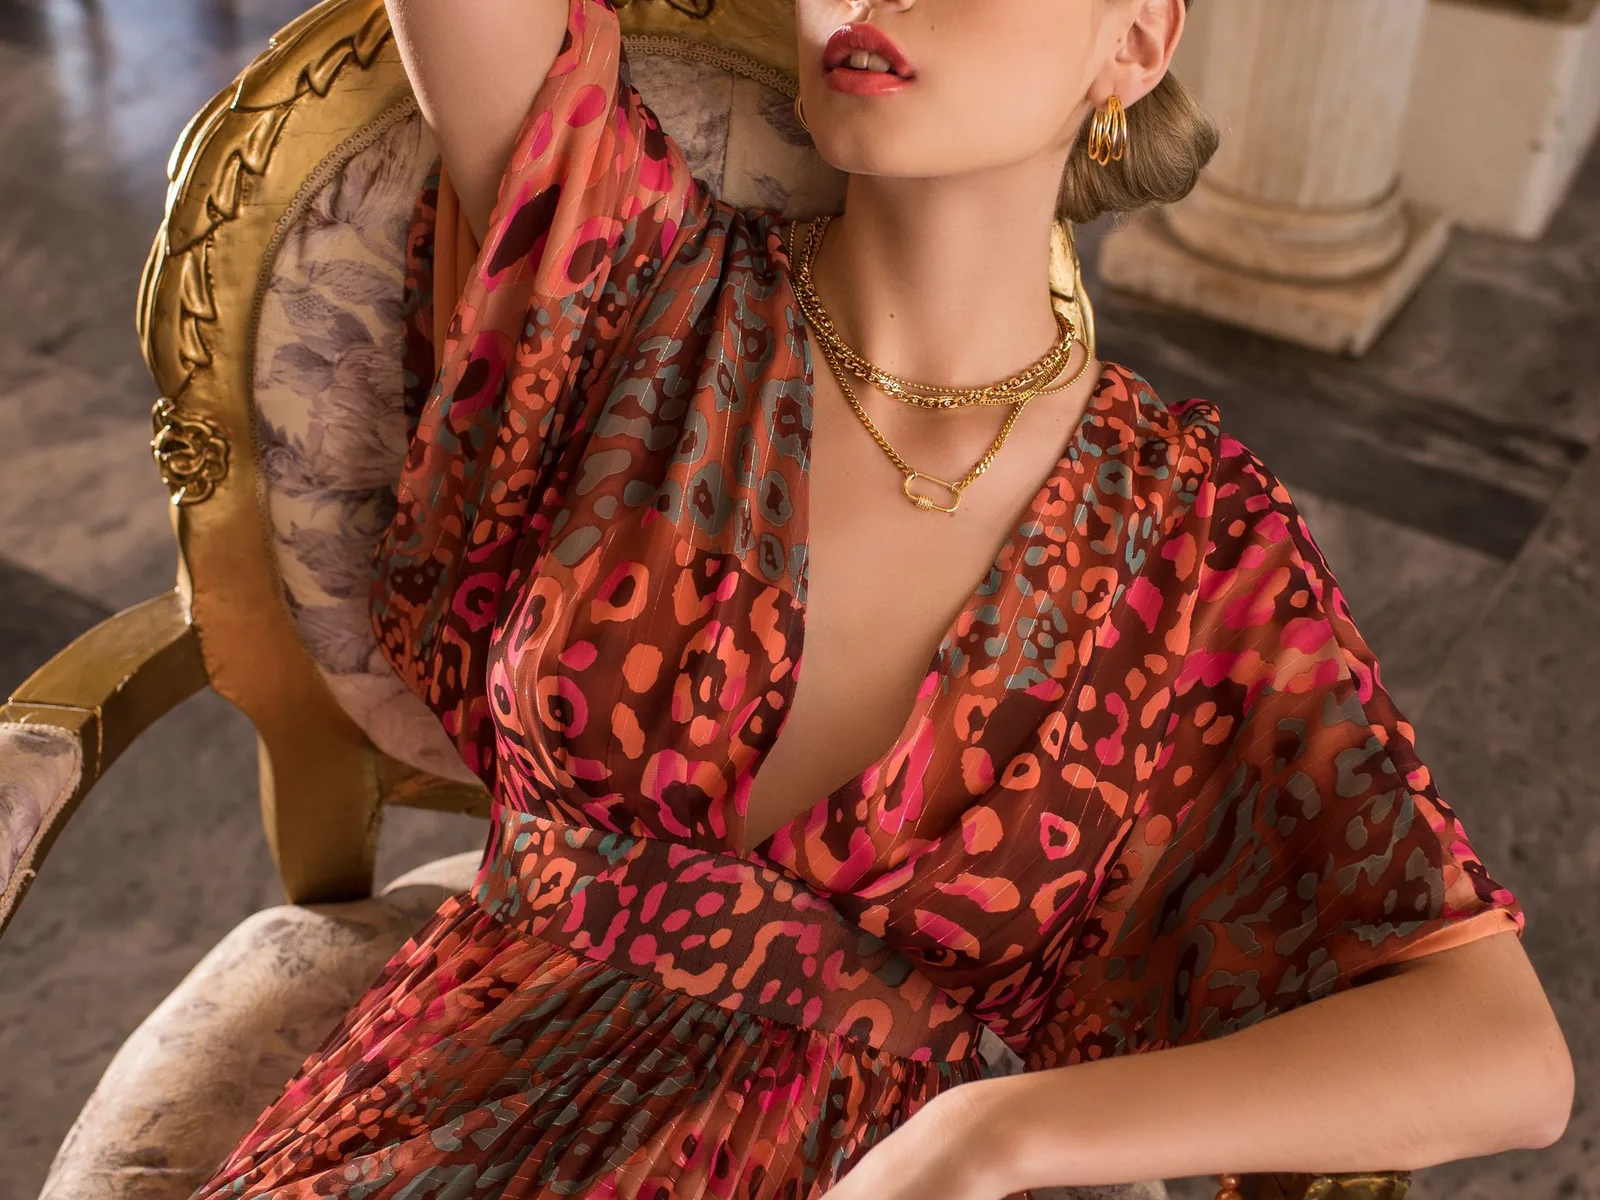
The photographs are garment-construction references, not examples of approved logo applications. Use your actual style and current artwork for the placement proof.
Name the anchors
State the wearer’s side, finished garment reference and exact point on the visible logo that each dimension locates.
Map the size range
Specify graphic dimensions and location separately; identify which sizes need additional placement evidence.
Approve the actual combination
Review garment revision, material, construction, artwork and application together, then record the accepted scope.
Buyer decisions and factory confirmations
Use this checklist with the dimensioned placement sheet, not as a substitute for the actual sample.
| Decision area | What the buyer should prepare | What to ask the factory |
|---|---|---|
| Garment identity | Name style, revision, review size and wearing arrangement. | Does the sample represent the specified construction and material? |
| Side and anchors | Mark wearer’s left/right, named seam or edge and measurement direction. | Can the same points be located on the finished garment? |
| Logo dimensions | Identify visible boundary, finished size, orientation and any optical offset. | Does the production preview match these dimensions and proportions? |
| Size mapping | Assign artwork size and location rules to each garment-size group. | Which representative sizes and setup differences need review? |
| Sample evidence | Request full, measured, worn and reverse views where relevant. | What is substituted or unresolved, and what can this sample approve? |
| Bulk release | Record accepted references, agreed tolerances, open conditions and approver. | Which garment, material or process changes require renewed approval? |
Continue the production conversation
Match the placement rule to the garment
| Product | Proposed area | Anchor to define | Cross-size question | Sample evidence |
|---|---|---|---|---|
| Fashion T-shirt | Front wordmark | Defined centre front and named neckline seam | Same logo size, changed position or size-group mapping? | Relaxed flat measurement plus full worn view |
| Blouse / shirt | Chest or pocket | Pocket boundary or independent body reference | Does pocket shape or placement change? | Closed front, close-up and reverse where relevant |
| Dress | Bodice or waist-area detail | Named neckline, waist seam or panel | Does shaping change the visible area? | Assembled garment with relevant lining and movement views |
| Knit top | Body or sleeve | Defined seam and relaxed garment state | Does the intended worn shape alter visual balance? | Actual material, relaxed measurement and worn review |
| Robe | Visible front panel | Named panel, collar reference and overlap rule | Does overlap or belt position conceal the mark? | Closed and belted garment at the recorded arrangement |
Buyer FAQs
What information is needed for custom logo placement on clothing?
Identify the style and garment revision, artwork version, wearer-side location, visible finished dimensions, measurement anchors, orientation, measuring condition and size mapping. Specify what the sample must demonstrate and who can approve changes.
Does left chest mean the wearer’s left or the viewer’s left?
Write the convention explicitly. This guide recommends naming the wearer’s left and marking it on an annotated garment view. Check that the drawing, written instruction and sample all use the same orientation.
Should the same logo size be used on every garment size?
Not automatically. A constant logo, size-group artwork or a graded design can each be discussed. Decide graphic dimensions and position separately, then record the mapping and review the sizes that could expose a problem.
Can I approve the position from a digital mockup?
A mockup communicates intention but does not establish the final relationship to drape, stretch, seams, overlap or application access. Agree measurable instructions and the physical sample evidence needed for the actual product.
Is there a standard distance below the neckline for all logos?
No universal distance is prescribed here. Garment silhouette, neckline, logo proportions, size range and visual intent differ. Define the exact neckline reference and approve project-specific dimensions on the relevant sample.
How can Yinshan Fashion help with private-label logo placement?
Yinshan Fashion can discuss logo application with the garment, material, sample and production requirements. Send the current artwork, product references, dimensions, size range and order context so the relevant review route and open decisions can be clarified.