
Article
What should buyers know first?
Short answer: Prepare bias cut dress production with an identified fabric, pattern grain, seam proof, lining and sample review conditions before a bulk decision.
Bias cut dress production requires the buyer to connect the intended drape with a specific fabric, pattern orientation, construction and review method. The diagonal relationship between a pattern piece and the fabric grain is part of the product definition. It should not be left as a styling description that different people interpret differently. A dress can look fluid in a reference photograph without showing how its pieces were cut or assembled.
A useful enquiry gives Yinshan Fashion the silhouette, material information held, intended fit, pattern reference if available and the sample questions that remain. Yinshan Fashion handles custom and private-label bulk enquiries; the feasibility of a particular bias-cut programme needs project-specific confirmation. This guide does not document a verified Yinshan bias-cut sample, production method or test result. It sets out the information a buyer should establish before commissioning that work.
The aim is to make the next sample answer a precise question. Does the proposed cloth produce the intended fall? Does the constructed seam preserve that appearance? Does the garment maintain a workable length and fit under the agreed review conditions? Those questions require related evidence, but they are not interchangeable approvals.
Bias cut dress production needs an explicit grain instruction
Begin by identifying the fabric construction and the orientation intended for each pattern piece. For a woven cloth, the lengthwise and crosswise directions provide reference axes. A bias direction runs diagonally to those axes. The pattern team should define the actual cutting instruction for the design; the buyer should not infer it from the way a garment hangs in an inspiration image.
Mark the orientation on the controlled pattern or cutting reference. Distinguish pieces that follow the proposed bias direction from pieces intended to be cut differently. A facing, lining, strap or reinforcement may have its own instruction. Describing the entire dress as bias cut does not establish the orientation or construction of every component.
Ask how the proposed material will be identified in the sample record. A change of fabric can change the product question, even when the grain instruction remains the same. Keep the pattern version and material reference together so the team can establish which combination produced the reviewed sample. Otherwise, an attractive result may be difficult to reproduce or explain.
General garment-construction guidance from New Mexico State University treats grain and the compatibility of fabric, seams and design as quality considerations. For this programme, turn that broad principle into a written instruction and a sample review. The source is educational context, not evidence of a particular factory's execution.
Describe the intended drape without relying on mood words
Words such as fluid, soft and elegant can describe an aspiration, but they do not identify the feature the sample must demonstrate. Explain where the dress should skim, where it should release and how the skirt should fall. Mark the intended neckline, waist relationship, side seam position and hem silhouette on a drawing. A reviewer should be able to compare the garment with those intentions without guessing which part of a reference matters.
The dress collection provides category context for a development discussion. Use the buyer's own selected references to explain the desired line and construction. Do not treat the presence of a dress in a collection as confirmation that it uses a bias-cut pattern or that its material is available for a new programme.
Identify the wearing conditions that matter to the design. A dress intended for movement, seated use or layering may need observations beyond a standing front photograph. State the proposed underlayers and any intended shaping components. Review the garment as the wearer is expected to use it, while keeping those fitting conditions consistent between samples.
Define what can change during development. The brand may be flexible about a seam position but fixed on the neckline or length relationship. Another design may depend on an uninterrupted front panel. Those priorities help the pattern and construction team propose a useful route instead of improving one technical point at the expense of the design's essential character.
Compare fabrics on an identified garment basis
Start a material comparison with reference numbers and supplied specifications. Record the fibre information held, construction, width, colour and finishing description, while marking information that still needs confirmation. A familiar fabric name does not establish its behaviour in this particular dress. Two candidates sold under similar descriptions may still require separate garment review.
A swatch can help narrow appearance and handfeel preferences. It cannot demonstrate the entire relationship between a long panel, seam, neckline and lining. Ask which questions need a constructed sample and which can be answered from a smaller applied trial. The sample plan should focus effort on the points that could change the material or pattern decision.
Keep the comparison fair. Use the same intended silhouette and record any pattern or construction differences between candidates. If one sample has been altered while another has not, the buyer is comparing more than fabric. That may be useful, but it must be explicit. A material recommendation should explain the whole proposed garment route, including any changes required to make it work.
Where care, dimensional behaviour or another measured property affects the decision, agree a relevant procedure and acceptance basis. Do not turn an informal handling impression into a numerical claim. The buyer needs evidence that applies to the proposed material and garment, with the limitations of the review clearly stated.
Keep pattern development distinct from cutting release
A development pattern is a working hypothesis about the garment. It becomes useful through review, correction and a controlled release decision. Identify who owns each revision and how the current pattern is distinguished from earlier versions. If the buyer supplies a pattern, clarify whether it is approved for production or offered as a starting reference for evaluation.
The cutting discussion needs the actual pattern and usable material basis. Ask the technical team to review the layout, directional requirements and relevant fabric characteristics before treating an early consumption estimate as a commitment. A generic allowance cannot establish the cloth required for every bias-cut dress. Width, panel shape, size distribution and design details belong in the calculation.
Separate commercial estimates from release instructions. An estimate may be needed before every detail is final, but its assumptions should be visible. If the pattern, material width or size mix changes, ask whether the estimate needs revision. Do not allow an early quantity calculation to become an invisible constraint that forces an unapproved change to the garment.
Before bulk cutting is considered, confirm the pattern version, material reference, orientation instructions, approved construction and outstanding exceptions. The buyer should understand what the release covers. Permission to prepare a further sample is a different decision from permission to cut the intended order, even when the same files support both conversations.
Investigate seam appearance in the actual material
Review the seam as part of the garment's surface and shape. Note any unwanted waviness, pulling, twisting or disruption to the intended fall. Identify the seam location, sample version and conditions in which the observation appears. The technical team should examine the material, pattern, sewing and handling together before prescribing a correction.
Avoid specifying a universal stitch or seam solution from a photograph. The appropriate construction depends on the cloth, design and product requirement. Ask for a proposed method and an applied proof where needed. If two methods are compared, label the trials and explain which criterion determines the choice, such as appearance, comfort or the agreed durability requirement.
A seam trial should represent the relevant conditions as closely as its purpose requires. A short straight sample may answer a narrow sewing question, while the full dress may be needed to review a long shaped seam under the garment's own weight. State what each trial demonstrates and what remains untested. A successful small trial should not silently become approval of every seam in the product.
Retain the selected construction reference with the pattern and material record. If the sewing team proposes a later adjustment, assess the visible and functional effect before treating it as equivalent. The manufacturing overview can frame questions about the proposed production route, but the actual method must be confirmed for the current dress.
Review necklines, openings and narrow components separately
The main panels may produce the desired drape while smaller components still need work. Review the neckline, armhole, straps, closures and any opening in their intended positions. Identify where the design needs a clean edge, controlled shape or particular comfort outcome. These details should not be treated as automatically resolved by approval of the skirt's fall.
Ask how the proposed facing, binding, lining or reinforcement relates to the outer fabric. The decision should be supported by a sample or applied proof appropriate to the detail. A reinforcement that improves one edge may alter the appearance or feel nearby. The buyer should review that tradeoff against the product brief instead of accepting a hidden change beneath the surface.
Check the practical use of closures with the garment on the intended fit reference. Record whether any temporary handling or adjustment was needed during the review. A styled photograph can conceal an opening that does not behave as intended. The sample decision should concern the product in normal use, with the review conditions stated.
For a collection that also includes tops, the blouse collection offers a useful comparison of neckline, opening and sleeve questions. Keep the technical decisions category-specific. A detail that works on a short blouse should be reviewed again when it is part of a longer garment with a different pattern and weight distribution.
Assess the lining as a second garment relationship
A lining changes the constructed system the buyer is evaluating. Identify its material, shape, attachment points and intended length relative to the shell. Ask what it is meant to achieve: coverage, surface separation, comfort or another stated product requirement. The lining should have its own specification instead of being described only as matching or standard.
Review shell and lining together in the sample. Observe whether the two layers move as intended and whether either affects the visible drape. Check the relationship at openings, seams and the hem. A satisfactory shell sample does not establish the final result after a lining is added, especially where the attachment arrangement changes the way the garment moves.
Record the proposed care basis for the whole assembly. Do not assume that compatibility follows from similar colour or handfeel. Where the buyer requires evidence about dimensional change, colour behaviour or another property, identify the relevant review or testing route. The actual requirement and acceptance criteria should be agreed for the product, with no unsupported performance promise.
If the brand is considering an unlined alternative, treat it as a separate product option. Review the implications for coverage, seam appearance, wearing conditions and customer presentation. The decision should reflect the intended garment and market, rather than a general rule that a particular fibre or silhouette always requires one lining arrangement.
Define settling and measurement conditions before comparing samples
A useful measurement record explains how the garment was prepared and supported. Ask the technical team which handling, resting or hanging conditions are appropriate for the proposed material and construction. Agree the method before comparing results. This article does not prescribe a universal hanging period or imply that one routine resolves every bias-cut garment.
Measure named points in a consistent way and record the sample's condition. If one dress has just been unpacked and another has been handled and displayed differently, a length comparison may be difficult to interpret. The buyer needs enough information to distinguish a product change from a difference in preparation or measurement method.
Where observations change over the agreed review sequence, record the sequence rather than choosing only the most flattering image. Note the garment version, material and conditions at each observation. Ask the technical owner what further evidence is needed to explain the result. Do not convert an unexplained change into a permanent correction before understanding what the sample represents.
The same discipline helps a repeat enquiry. Retain the measurement method and reference conditions with the approved garment record. A later reviewer should be able to reproduce the comparison well enough to make an informed decision. Without that context, a retained sample can become a visual memory instead of a usable technical standard.
Resolve hem appearance after the relevant garment review
Define the intended hem line and finish in the design brief. Explain whether the hem should read as level on the wearer, deliberately shaped or asymmetric. A flat measurement alone may not describe that visual intention. The sample review should connect the specified points with the garment's appearance under the agreed fitting and preparation conditions.
Ask the technical team to propose the appropriate sequence for assessing and finishing the hem. The answer should relate to the actual fabric and garment construction. Avoid adopting a fixed trimming allowance or waiting period from an unrelated product. A process that worked on another material is a reference for discussion, not proof that it is suitable here.
Review the hem's appearance with the relevant shoes or underlayers only when those are part of the agreed fit context, and record their use. Do not hide an uneven result through pose or temporary styling. If the design changes length during development, identify the effect on the pattern, lining and consumption discussion as well as the customer-facing description.
Keep the selected finish and accepted appearance in the final record. A factory and buyer should be able to identify which sample illustrates the approved result and which instructions produced it. That is more useful than a broad comment to make the hem neat, which leaves both the method and the acceptance basis open to interpretation.
Plan size review around the complete silhouette
A base-size approval answers a limited question. The brand should discuss which additional sizes need review and what the samples must demonstrate across the proposed range. Include the relationship of the neckline, waist, skirt and hem, rather than reviewing only an isolated circumference. The sampling plan should reflect the product and the buyer's fit basis.
Keep body information, finished-garment measurements and pattern instructions distinct. A size name does not determine the ease or shape of the dress. Provide the brand's current measurement basis and intended fit, then ask the technical team to identify missing information. Where a chart or pattern is provisional, label it accordingly rather than presenting it as an approved standard.
When a size-specific issue appears, first establish whether the sample represents the current instruction. Review measurements, material and construction before deciding what to change. If the proposed correction affects other parts of the garment, identify the further review needed. An isolated adjustment should not create an undocumented second pattern route for one size.
The casual-fashion category can help the brand place the dress within a wider range. Use that commercial context to explain the desired fit relationship between pieces, while retaining a separate specification and approval record for each garment. A coherent collection does not require identical technical decisions across every style.
Protect the approved result during finishing and packing
The development record should include the proposed finishing and presentation requirements. Ask how the selected garment will be handled, supported and packed for the intended handover. Review a representative presentation where folds, pressing or hanging could affect the customer's first view of the product. Do not assume that an approved fit sample also approves every packing method.
State any appearance priorities that must survive the agreed process. The factory should identify the proposed method and any limitations requiring buyer review. If a finishing adjustment is needed, assess it against the material and construction rather than treating it as a purely cosmetic intervention. The accepted result should remain connected to the garment specification.
Before release, check that the order's labels, material information and care instructions refer to the final product. A change of fabric or lining during development can leave an earlier document out of date. The responsible parties should review the information for its intended market and evidence basis. An article cannot establish the correct label or care claim for an unidentified garment.
Retain the packing and finishing references with the approved sample and change log. For a later repeat, compare the proposed route with that record. If a material, component or process changes, identify the earlier decisions that need renewed review before assuming the same appearance will follow.
Separate an acceptable first sample from a repeatable instruction
Imagine that a development sample gives the buyer the desired silhouette, but the team cannot identify which material reference or pattern revision was used. The physical result is encouraging, yet the next decision is to reconstruct its basis before treating it as a production standard. Ask the sample team to identify the actual inputs and any adjustments made during construction. Keep uncertainty visible where the record cannot be recovered.
A second sample made from the documented route can then answer a different question: whether the intended instruction produces the result the buyer wants to retain. Compare it with the reference using the agreed preparation, measurement and fitting conditions. Record both similarities and differences rather than relying on a general impression that the garments look close.
If the result differs, investigate the inputs and process before revising the design. The buyer may need a clearer material definition, a corrected pattern handover or another construction review. These are distinct next steps. A repeatable instruction is not established by calling the first sample approved; it is established by a usable product record and evidence appropriate to the next commitment.
Build a sample decision that can be acted on
An illustrative review may find that the front drape is accepted while a side seam shows an unwanted wave. Record both findings. Ask the technical team to investigate the seam in the current material and propose the next proof, while retaining the accepted front silhouette. That is a clearer instruction than approving the dress broadly and adding an informal request to improve sewing.
A second review may show the revised seam is satisfactory but the change affects the opening. Keep that consequence visible and decide which further sample or detail proof is needed. Development sometimes reveals connected decisions. The purpose of a controlled record is to make those relationships manageable, not to pretend every issue can be closed independently.
Before contacting Yinshan Fashion, assemble the silhouette reference, material information, pattern status, intended size range, construction questions and sample objective. Include the quantity and timing context without treating either as a confirmed offer. Ask the team to confirm the feasible scope and the evidence required for a meaningful next step.
Use the contact page to send that current brief, and the fabric decisions guide to organise the later material release. A useful outcome is an agreed sample task with named inputs, review conditions and a decision owner. The actual garment evidence should determine whether the proposed bias-cut route is ready to progress.
Bias Cut Dress Production worksheet
Three actions before the next sample
Prepare bias cut dress production with an identified fabric, pattern grain, seam proof, lining and sample review conditions before a bulk decision.
Specify orientation
Connect each relevant pattern piece with the intended material and grain instruction.
Prove the assembly
Review seams, lining and edges in the proposed cloth rather than approving them separately by assumption.
Control the comparison
Record preparation, measurement and fitting conditions before comparing versions.
Buyer inputs and factory questions
Use the current garment and material references. Confirm the actual development scope and evidence required for this programme.
| Decision area | What the buyer should prepare | What to ask the factory |
|---|---|---|
| Pattern | Provide the current drawing, pattern status and fixed silhouette features. | What orientation and layout information is needed? |
| Material | Identify the proposed fabric and any substitute. | Which drape and construction questions require a garment? |
| Seams | Describe the accepted appearance and unresolved observations. | Which trial or revised sample will establish the method? |
| Review conditions | Agree preparation, support and measurement points. | How will samples be compared consistently? |
| Release | Keep pattern, material, construction and accepted sample together. | Which remaining conditions prevent the next commitment? |
Continue the production conversation
Bias Cut Dress Production: decision worksheet
| Review point | Buyer input | Evidence to review | Decision before progression |
|---|---|---|---|
| Grain instruction | Current pattern and orientation for each piece | Pattern-to-material reference | Is the cutting instruction explicit? |
| Drape | Silhouette and fixed design features | Constructed sample in identified cloth | Does the garment show the intended fall? |
| Seams | Appearance and function requirements | Applied trial or full garment as appropriate | Which construction is accepted? |
| Lining and edges | Layering, neckline and opening requirements | Complete assembly review | Do the components preserve the intended shape? |
| Measurement and hem | Agreed preparation and measurement method | Recorded observations under the same conditions | Is the comparison consistent enough for release? |
Buyer FAQs
What is the first decision in bias cut dress production?
Define the garment and the intended orientation of its pattern pieces on the identified fabric. A fluid reference image does not establish the cutting instruction.
Can every fabric use the same bias-cut pattern and seam method?
Do not assume this. Review the actual material, pattern and construction as a combination, and ask the technical team which trials are needed.
How long should a bias-cut dress hang before hem review?
There is no universal interval specified here. Agree suitable preparation and review conditions for the actual fabric and construction with the responsible technical team.
Does an unlined sample approve the lined dress?
No. The lining material, shape and attachment can change the complete assembly. Review the intended shell and lining together.
Does the pictured dress prove Yinshan’s bias-cut capability?
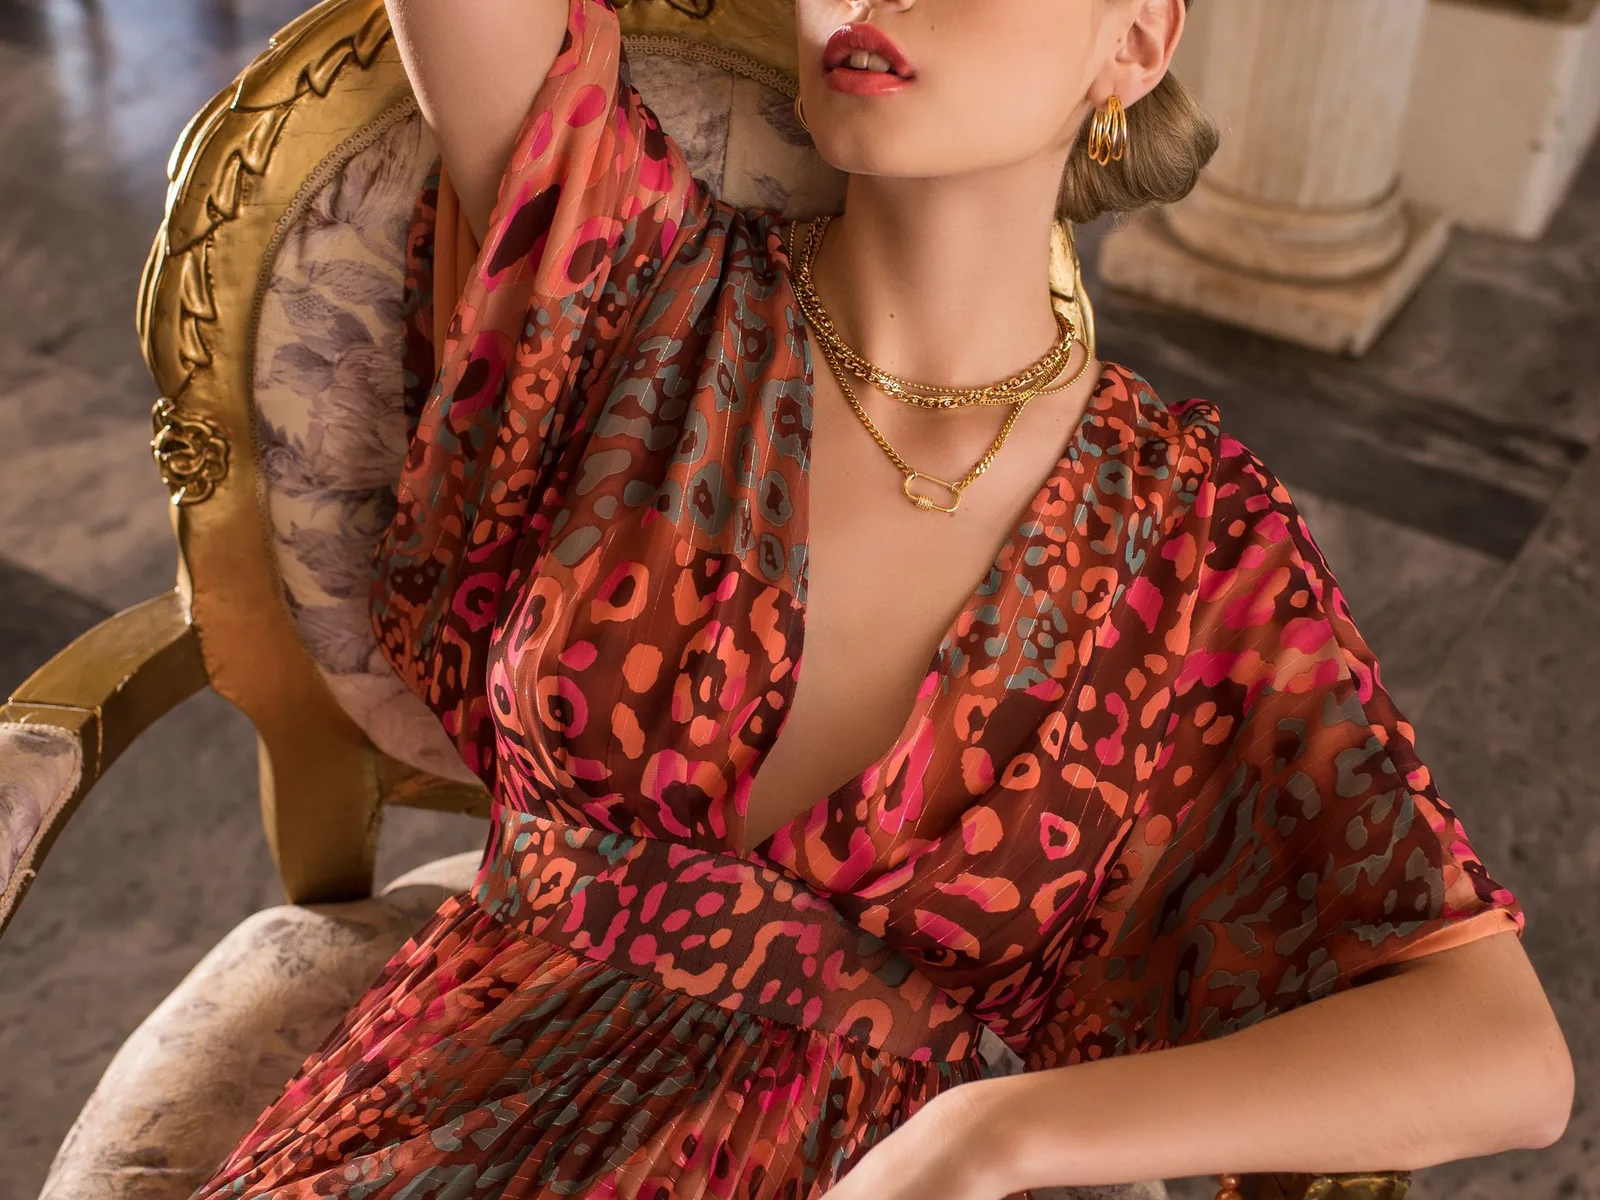
No. The image is a silhouette reference. Confirm the particular development scope and obtain project-specific sample evidence before making a production commitment.